Backing up Kubernetes Clusters with K8up
A common question we were asked by our clients moving to Kubernetes for the first time had almost always to do with backups: How can we ensure that the information in our pods and services can be quickly and safely restored in case of an incident?
Introduction
In this tutorial you’ll learn how to backup a small Minikube cluster running on your computer. We are going to deploy Minio, MariaDB, and WordPress to this cluster. Then we’ll create a blog post on our new website. Later we’re going to "deface" it so that we have a valid reason to restore it safely afterwards. Through this process you get to know K8up and its basic capabilities.
|
All the scripts and YAML files are available in GitHub. The paths in this tutorial are relative to docs/modules/ROOT/examples/tutorial.
|
Tutorial
It consists of eight steps to be executed in sequence:
Let’s get started!
Setting up the cluster
In this first step we’re going to create a new cluster using Minikube, install an S3-compatible storage to store our backups using Minio, install a MariaDB database that holds our website’s data, setting up our website using WordPress and finally deploy K8up.
The operations of this step can be executed at once using the scripts/1_setup.sh script.
|
-
Start your minikube instance with a configuration slightly more powerful than the default one:
-
minikube start --memory 4096 --disk-size 60g --cpus 4
-
| On some laptops, running Minikube on battery power severely undermines its performance and pods can take really long to start. Make sure to be plugged in to power before starting this tutorial. |
-
Copy all required secrets and passwords into the cluster:
-
kubectl apply -k secrets
-
-
Install and run Minio in your cluster:
-
kubectl apply -k minio
-
-
Install MariaDB in your cluster:
-
kubectl apply -k mariadb
-
-
Install WordPress:
-
kubectl apply -k wordpress
-
-
Install the CRDs K8up uses:
-
kubectl apply -f https://github.com/k8up-io/k8up/releases/download/v2.16.0/k8up-crd.yaml--server-side
-
-
Install K8up in Minikube:
-
helm repo add k8up-io https://k8up-io.github.io/k8up -
helm repo update -
helm install k8up-io/k8up --generate-name
-
After finishing all these steps, check that everything is running.
Simply launch k9s and leave it running in its own terminal window.
Or you can use the usual kubectl get pods to check how your components are doing.
The asciinema movie below shows all of these steps in real time.
Viewing Minio and WordPress in a browser
The operations of this step can be executed at once using the scripts/2_browser.sh script.
|
-
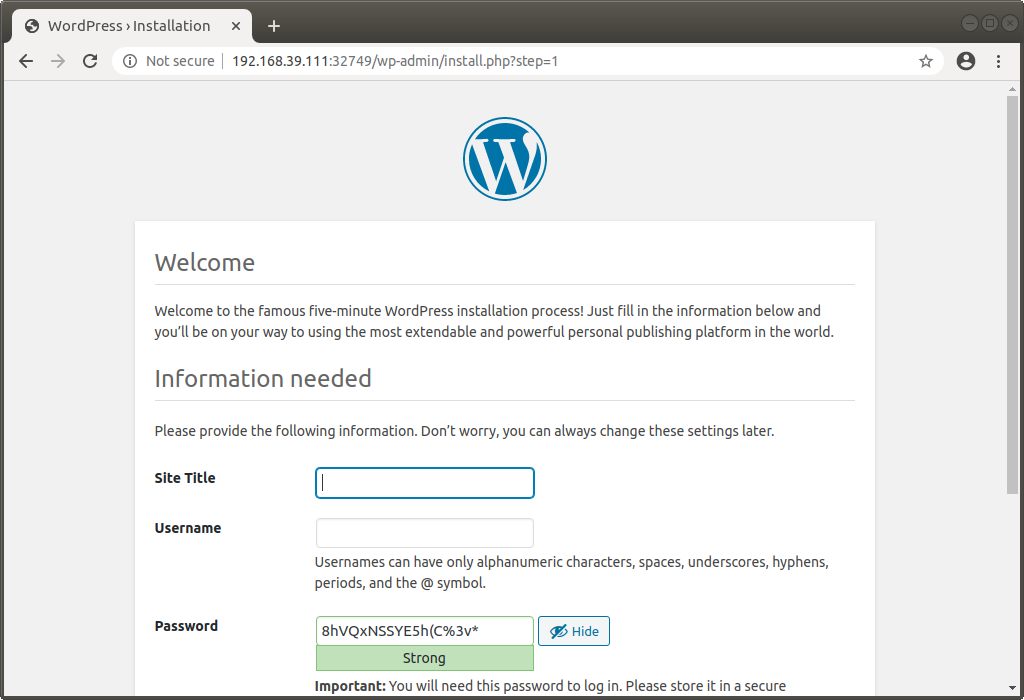
Open WordPress in your default browser using the
minikube service wordpresscommand. You should see the WordPress installation wizard appearing in your browser window.-
If the browser does not open automatically, use
minikube service --url wordpressto get the URL to open it manually.
-
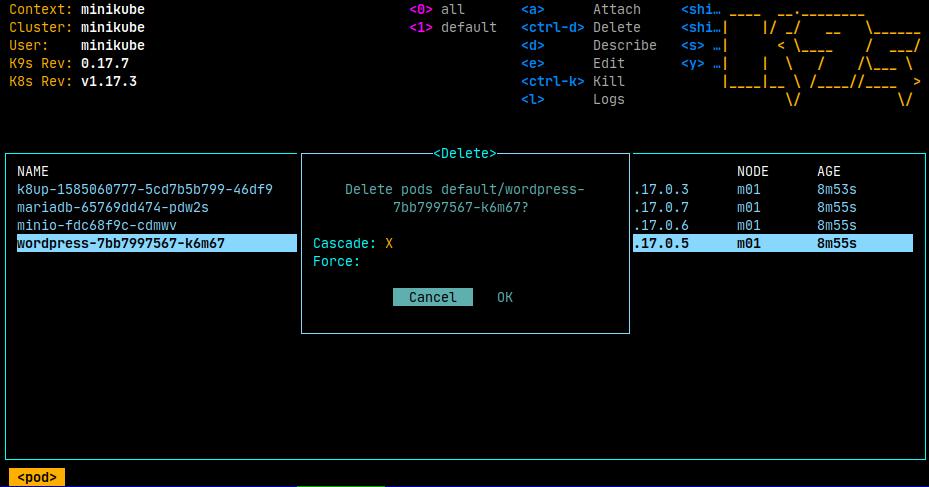
| If the message "Error establishing a database connection" appears when launching WordPress, just delete the WordPress pod and try again. This usually happens if the WordPress pod starts before the MariaDB pod and can’t find the database server. |
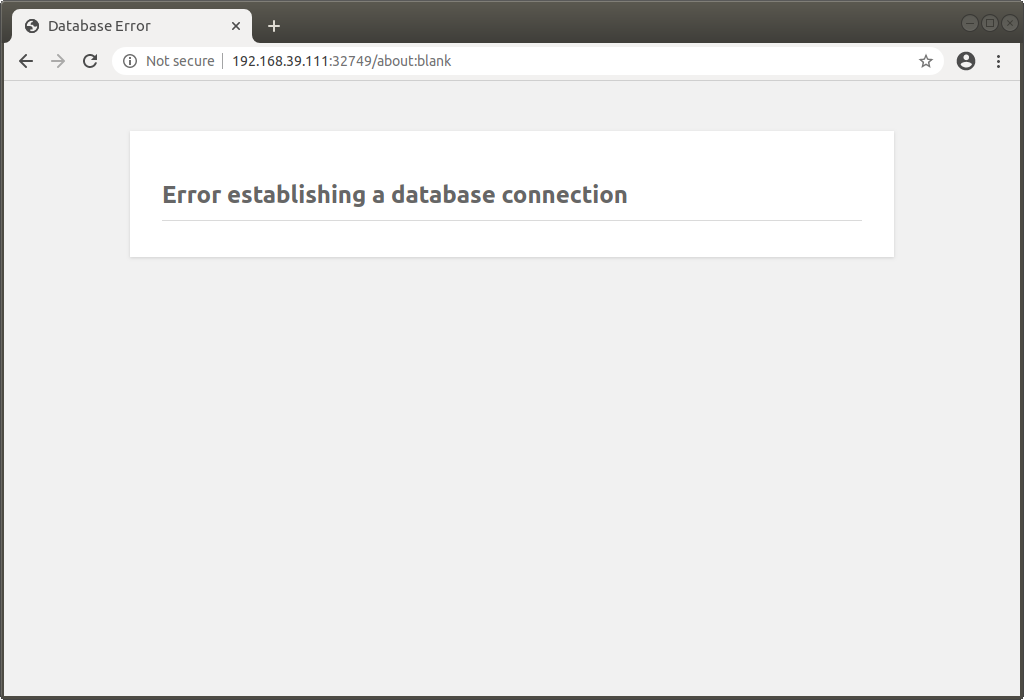
In k9s you can easily delete a pod by going to the "Pods" view (type :, write pods at the prompt and hit Enter), selecting the pod to delete with the arrow keys, and hitting the CTRL+D key shortcut.
|
-
Open Minio in your default browser with the
minikube service miniocommand.-
You can login into minio with these credentials: access key
minio, secret keyminio123.
-
Setting up the new blog
Follow these instructions in the WordPress installation wizard to create your blog:
-
Select your language from the list and click the Continue button.
-
Fill the form to create new blog.
-
Create a user
admin. -
Copy the random password shown, or use your own password.
-
Click the Install WordPress button.
-
Log in to the WordPress console using the user and password.
-
Create one or many new blog posts, for example using pictures from Unsplash.
-
-
Enter some text or generate some random text using a Lorem ipsum generator.
-
Click on the "Document" tab.
-
Add the image as "Featured image".
-
Click "Publish" and see the new blog post on the site.
Backing up the blog
In this step we’re going to create a backup of our blog and its database.
Everything related to this is defined in backup.yml.
Once applied to our Minikube cluster,
k8up will instantly take a backup of the database
and copy it to Minio, our S3-compatible backup storage.
Read on to learn how K8up exactly does what it does.
The operations of this step can be executed at once using the scripts/3_backup.sh script.
|
To trigger a backup, use the command kubectl apply -f backup.yaml. You can see the job in the "Jobs" section of k9s.
Running the kubectl logs command on a backup pod brings the following information:
No repository available, initialising...
created restic repository 97efa2a6bf at s3:http://minio:9000/backups

Please note that knowledge of your password is required to access
the repository. Losing your password means that your data is
irrecoverably lost.
Removing locks...
created new cache in /root/.cache/restic
successfully removed locks
Listing all pods with annotation k8up.io/backupcommand in namespace default
Listing snapshots
snapshots command:
0 Snapshots
backing up...
Starting backup for folder wordpress-pvc
done: 0.00%
backup finished! new files: 1907 changed files: 0 bytes added: 45561795
Listing snapshots
snapshots command:
1 Snapshots
sending webhook Listing snapshots
snapshots command:
1 Snapshots
Removing locks...
Listing snapshots
snapshots command:
1 Snapshots
Sending webhooks to : %
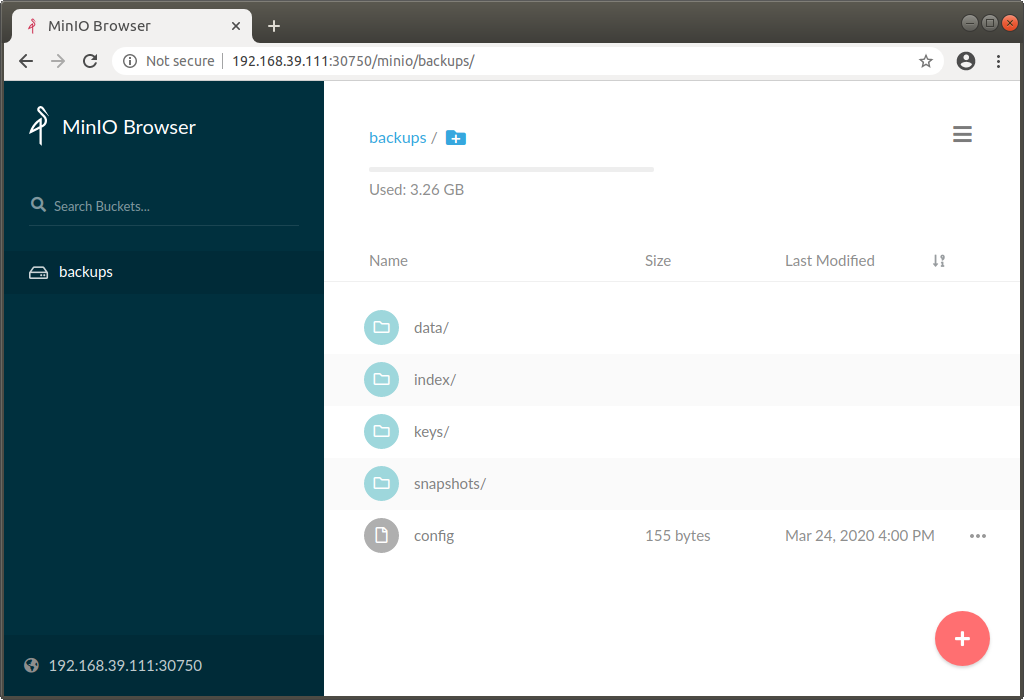
If you look at the Minio browser window, there should now be a set of folders that appeared. That’s the backup we’ve just performed in Restic format!
How does K8up work?
K8up runs Restic in the background to perform its job. It will automatically backup all PVCs in the cluster with the ReadWriteMany (or RWX for short) attribute.
Just like any other Kubernetes object, K8up uses YAML files to describe every single action: backups, restores, archival, etc. The most important part of the YAML files used by K8up is the backend object:
backend:
  repoPasswordSecretRef:
    name: backup-repo
    key: password
  s3:
    endpoint: http://minio:9000
    bucket: backups
    accessKeyIDSecretRef:
      name: backup-credentials
      key: username
    secretAccessKeySecretRef:
      name: backup-credentials
      key: password
This object specifies two major keys:
-
repoPasswordSecretRefcontains the reference to the secret which contains the Restic password. This password is used to open, read and write to the backup repository. -
s3specifies the location and credentials of the S3-compatible storage server. It’s where the Restic backup should be stored. The only valid option at this moment is using AWS S3-compatible storage, such as a Minio server in our case.
Restoring a backup
For the sake of this demonstration, let’s become evil for a moment and pretend we’re an attacker that has gained access to our blog. Because we’re so bad, we’re going to remove all blog posts and images from our WordPress installation and empty the trash.
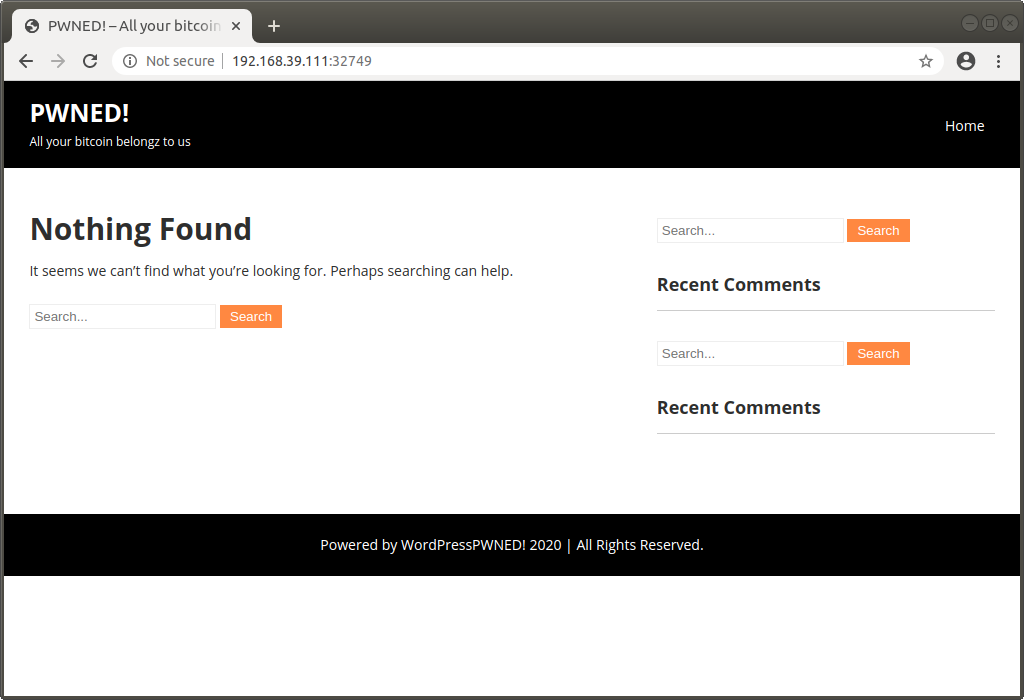
Oh noes! But don’t worry: thanks to K8up you can bring your old blog back in a few minutes.
There are many ways to restore Restic backups, for example locally (useful for debugging or inspection) and remotely (on PVCs or S3 buckets, for example.)
Restoring locally
To restore using Restic, set these variables (in a Unix-based system; for Windows, the commands are different):
kubectl port-forward svc/minio 9000:9000 &
export MINIO_PORT=$!
export KUBECONFIG=""
export RESTIC_REPOSITORY=s3:http://localhost:9000/backups/
export RESTIC_PASSWORD=p@ssw0rd
export AWS_ACCESS_KEY_ID=minio
export AWS_SECRET_ACCESS_KEY=minio123
In this tutorial you can load these variables by simply running source scripts/environment.sh.
|
With these variables in your environment, run the command restic snapshots to see the list of backups. Afterwards start the restore with restic restore XXXXX --target ~/restore, where XXXXX is one of the IDs appearing in the results of the snapshots command.
Restoring to a PVC
The operations of this step can be executed at once using the scripts/4_restore.sh script.
|
K8up is able to restore data directly on specified PVCs. This requires some manual steps.
-
Using the steps in the previous section, "Restore Locally", check the ID of the snapshot you would like to restore:
$ source scripts/environment.sh
$ restic snapshots
$ restic snapshots XXXXXXXX --json | jq -r '.[0].id'
-
Use that long ID in your restore YAML file
k8up/restore-wordpress.yaml:-
Make sure the
restoreMethod:folder:claimName:value corresponds to thePathsvalue of the snapshot you want to restore. -
Replace the
snapshotkey with the long ID you just found:
-
apiVersion: k8up.io/v1
kind: Restore
metadata:
  name: restore-wordpress
spec:
  snapshot: 00e168245753439689922c6dff985b117b00ca0e859cc69cc062ac48bf8df8a3
  restoreMethod:
    folder:
      claimName: wordpress-pvc
  backend:
Don’t forget to fill in your actual backend: information as documented above.
There is a predefined restore YAML file in restore/wordpress.yaml where you only have to replace SNAPSHOT_ID.
-
Apply the changes:
-
kubectl apply -f restore/wordpress.yaml -
Use the
kubectl get podscommands to see when your restore job is done.
-
Use the command kubectl get pods --sort-by=.metadata.creationTimestamp to order the pods in descending age order. Then you will quickly find the pod of the restore job at the end of the list.
|
The restore job restores data into the existing PVC mounted in the WordPress pod under /var/www/html:
volumeMounts:
- name: wordpress-persistent-storage
  mountPath: /var/www/html
Any files that may have been manipulated will be restored to the state from the snapshot. Please note that any newly created files in the PVC will not be deleted by the restore process.
-
Since it is a PHP application, nothing else is needed for this pod.
Restoring the database dump
In the case of the MariaDB pod, this backup annotation in the MariaDB deployment instructed K8up to create a database dump as text and store it in MinIO:
spec:
  template:
    metadata:
      annotations:
        k8up.io/backupcommand: /bin/bash -c 'mysqldump -uroot -p"${MARIADB_ROOT_PASSWORD}" --all-databases'
Thus the restoration procedure is different. Instead of restoring files to a PVC, we can instead connect to the running database in the pod and restore directly from the dump.
-
Pipe the database dump from restic to the MariaDB instance running inside the MariaDB pod:
$ export SNAPSHOT_ID=$(restic snapshots --json --last --path /default-mariadb | jq -r '.[0].id')
$ export MARIADB_POD=$(kubectl get pods -o custom-columns="NAME:.metadata.name" --no-headers -l "app=wordpress,tier=mariadb")
$ restic dump "${SNAPSHOT_ID}" /default-mariadb | kubectl exec -i "$MARIADB_POD" -- /bin/bash -c 'mysql -uroot --password="${MARIADB_ROOT_PASSWORD}"'
Now refresh your WordPress page in your browser window. You should see the previous state of the WordPress installation restored, working and looking as expected!

Cleaning up the backup pods
Whenever K8up performs a backup, it creates a pod for the job. The one we created previously can be manually deleted using the command:
kubectl delete -f restore/wordpress.yaml
Scheduling regular backups
The operations of this step can be executed at once using the scripts/5_schedule.sh script.
|
Instead of performing backups manually, you can also set a schedule on which backups are performed automatically. This requires specifying the schedule in cron format.
backup:
  schedule: '*/2 * * * *'    # backup every 2 minutes
  failedJobsHistoryLimit: 2
  successfulJobsHistoryLimit: 2
  promURL: http://minio:9000
Use crontab.guru to help you set up complex schedule formats in cron syntax.
|
The schedule can also specify archive and check tasks to be executed regularly.
archive:
  schedule: '0 0 1 * *'       # archive every week
  restoreMethod:
    s3:
      endpoint: http://minio:9000
      bucket: archive
      accessKeyIDSecretRef:
        name: backup-credentials
        key: username
      secretAccessKeySecretRef:
        name: backup-credentials
        key: password
check:
  schedule: '0 1 * * 1'      # monthly check
  promURL: http://minio:9000
Run the kubectl apply -f k8up/schedule.yaml command. This will setup an automatic schedule to backup the PVCs every 5 minutes (for minutes that are divisors of 5).
Now wait for a bit more than 2 minutes. Then run restic snapshots again and watch more backups appearing in the repository.
Running the watch restic snapshots command will rerun restic every 2 seconds and update the output so that you don’t have to do it yourself.
|
Cleaning up the cluster
The operations of this step can be executed at once using the scripts/6_stop.sh script.
|
Stop port forwarding with kill $MINIO_PORT.
When you are done with this tutorial, just execute the minikube stop command to shut the cluster down. If you would like to get rid of it completely, run minikube delete.
Conclusion
We hope that this walkthrough provided you a quick overview of K8up and its capabilities. But K8up can do more than that! We have only briefly mentioned the archive, prune, and check commands and haven’t talked about the backup of any data piped to stdout (called "Application Aware" backups.) You can check these features on the K8up documentation website where they are described in detail.